

Which Selection Tool Lets You Draw Straight-line Segments Of A Selection Border?
 Permit'due south use the selection tool
Using "Select Tool", you lot can select role of the picture. At this time, the selected area is called "option range".
Using the "Bucket Tool" or "Transform Tool" after creating the "selection range", yous tin pigment and transform only the moving-picture show in the "pick range".
There are several means to specify "selection range" in MediBang Paint, and so we explain each.
Select Tool
Y'all tin can select the range as "Rectangle" "Ellipse" "Polygon" shape.
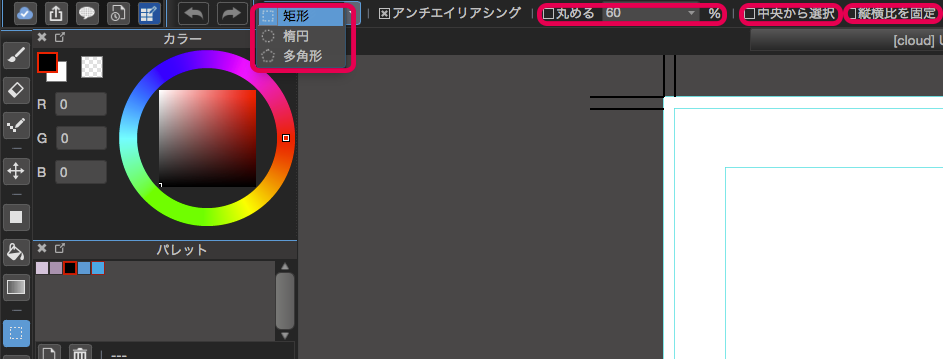
When you click the "Selection tool" button on the toolbar on the left side of the master window, you can select the option method from "Rectangle" "Ellipse" "Polygon".
Setting to circular the corner, selection from the heart, fixing the aspect ratio is the aforementioned usage equally "Fill tool".
Tips
To cancel the selection range, you tin select "Select" → "Deselect" in the menu or "Deselect" push on the tool bar at the acme of the main window.
Tips
With the selected range created, if y'all execute "Edit" → "Crop" in the menu, the canvas is cropped to the size of the pick range.
Lasso Tool
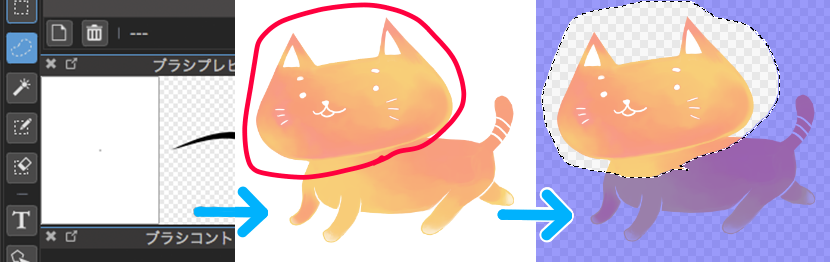
If you lot use "Lasso Tool", yous can create a choice by freehand.
Tips
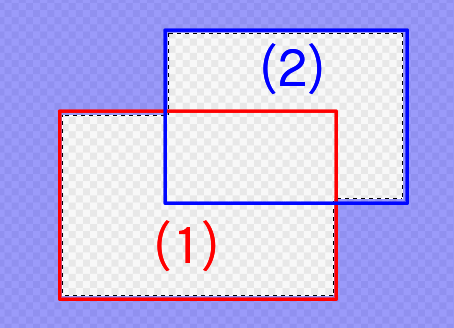
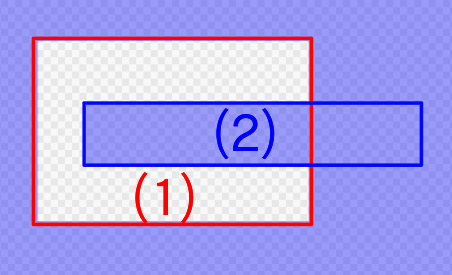
If you already accept a selection range, you tin add a choice by holding down the Shift central and creating a selection range. Agree down the Ctrl key and cut the selection.
MagicWand Tool
Using "MagicWand Tool", you can create a option automatically along the office surrounded by a line and color form.
When "MagicWand Tool" is selected, the toolbar for "MagicWand Tool" is displayed at the meridian of the chief window.

How to utilise this toolbar is the aforementioned as the "Saucepan Tool" toolbar.
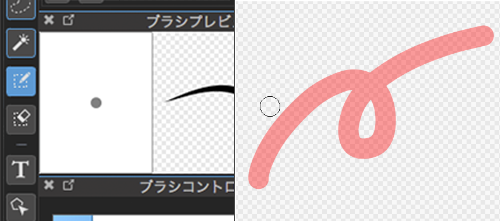
SelectPen Tool
"SelectPen Tool" allows you to specify the selection range by mitt drawn.
"SelectPen Tool" is user-friendly when y'all want to select details that are difficult to specify with "Shape", "Lasso", "MagicWand", etc. since the painted place is the selection range intact.
Automatically create selection range based on drawing content
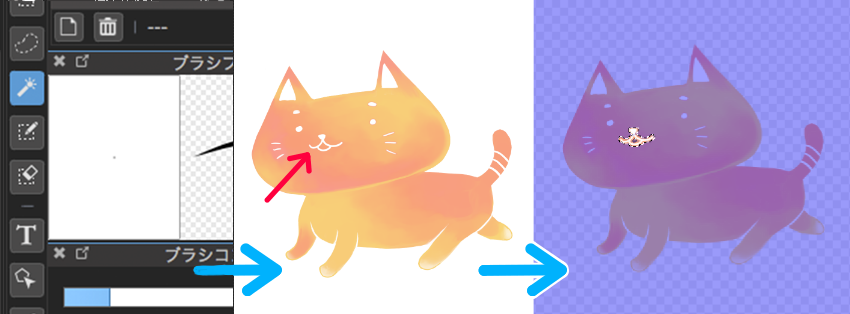
By using "Select" → "Create choice from Layer / Opacity" or "Create selection from Layer / Effulgence", you can create a selection based on the picture drawn on the layer .
Change selection
Yous can erase the pick by using "SelectEraser Tool".
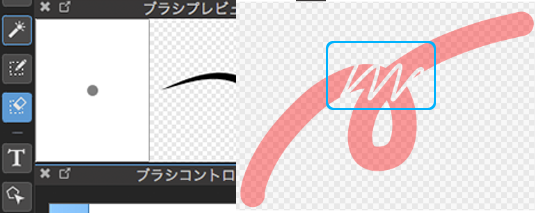
Information technology can be erased with the sense of drawing a line, then information technology is convenient when you repair small parts.
Expanding selection and contraction
It is also possible to expand / contract the specified option range.
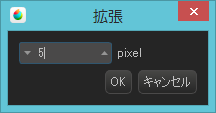
With the range selected, please select "Select" -> "Expand" or "Contract" of the bill of fare.
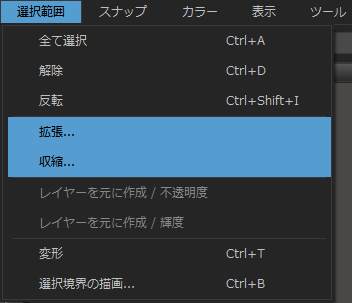
Since both dialogs are displayed, please input the number of pixels to be expanded / contracted and click "OK".
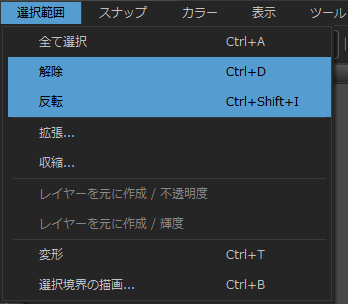
Invert and unselect selection
To invert the selection range and the pick range, select "Select" → "Inverse" in the card with the selection range specified.
Also, if y'all desire to cancel the selection range, please select "Deselect" in a higher place.
Tips
By unchecking "Select" → "Highlight Outside" in the menu, you can erase the color (majestic) around the selection expanse.
Let'south attempt information technology
Let's actually utilise the selected range.
Please download the sample first and open it.
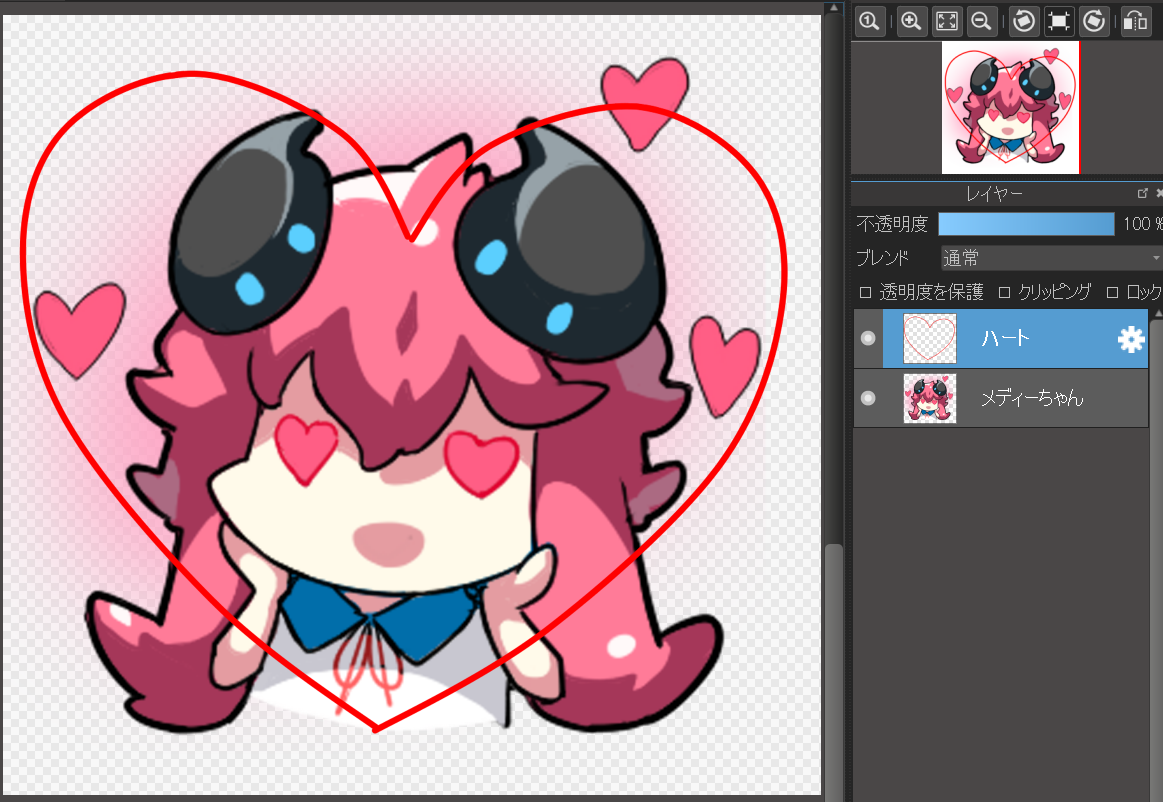
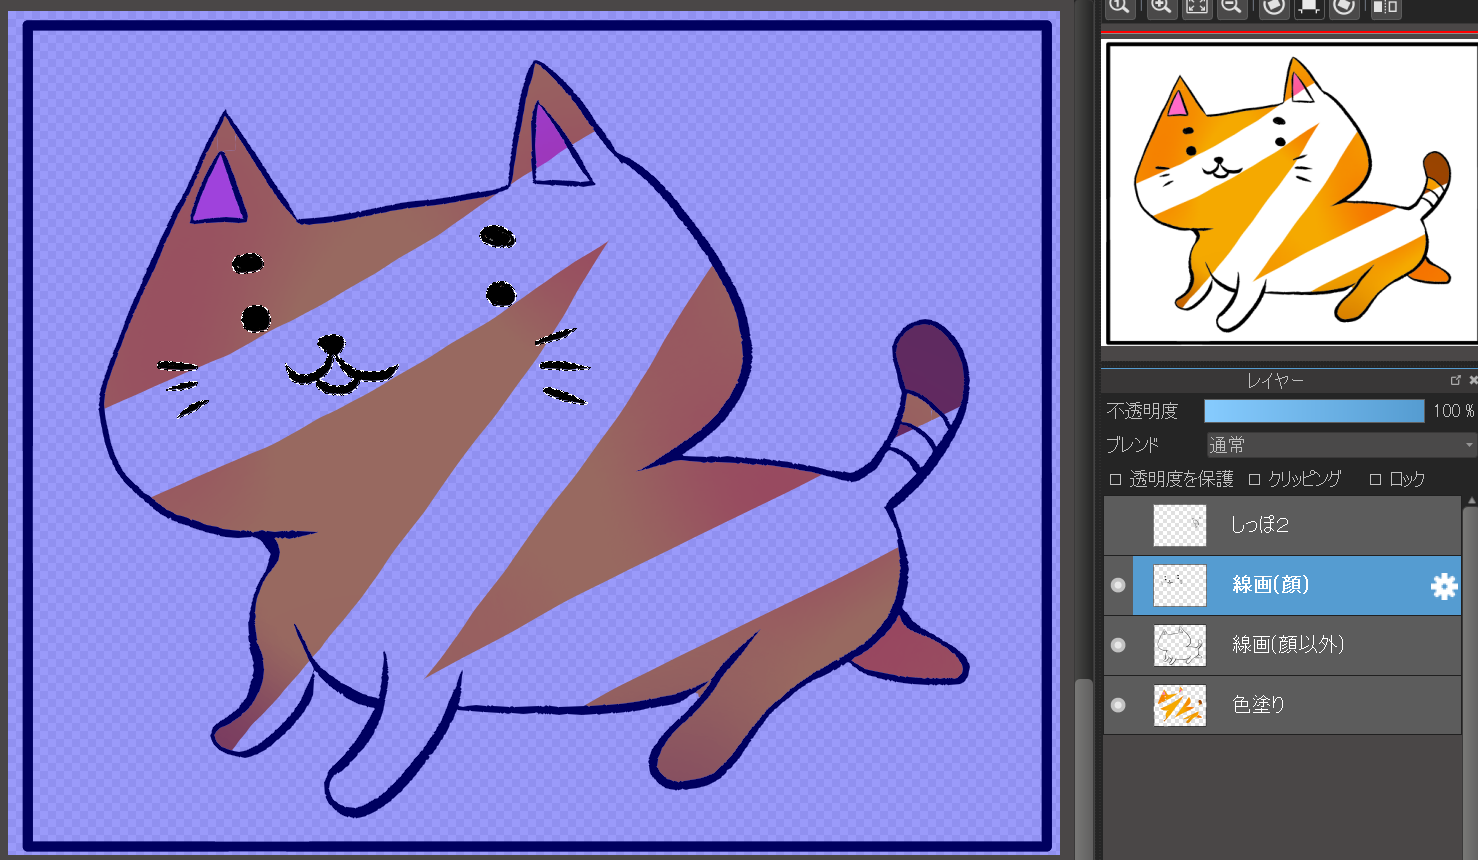
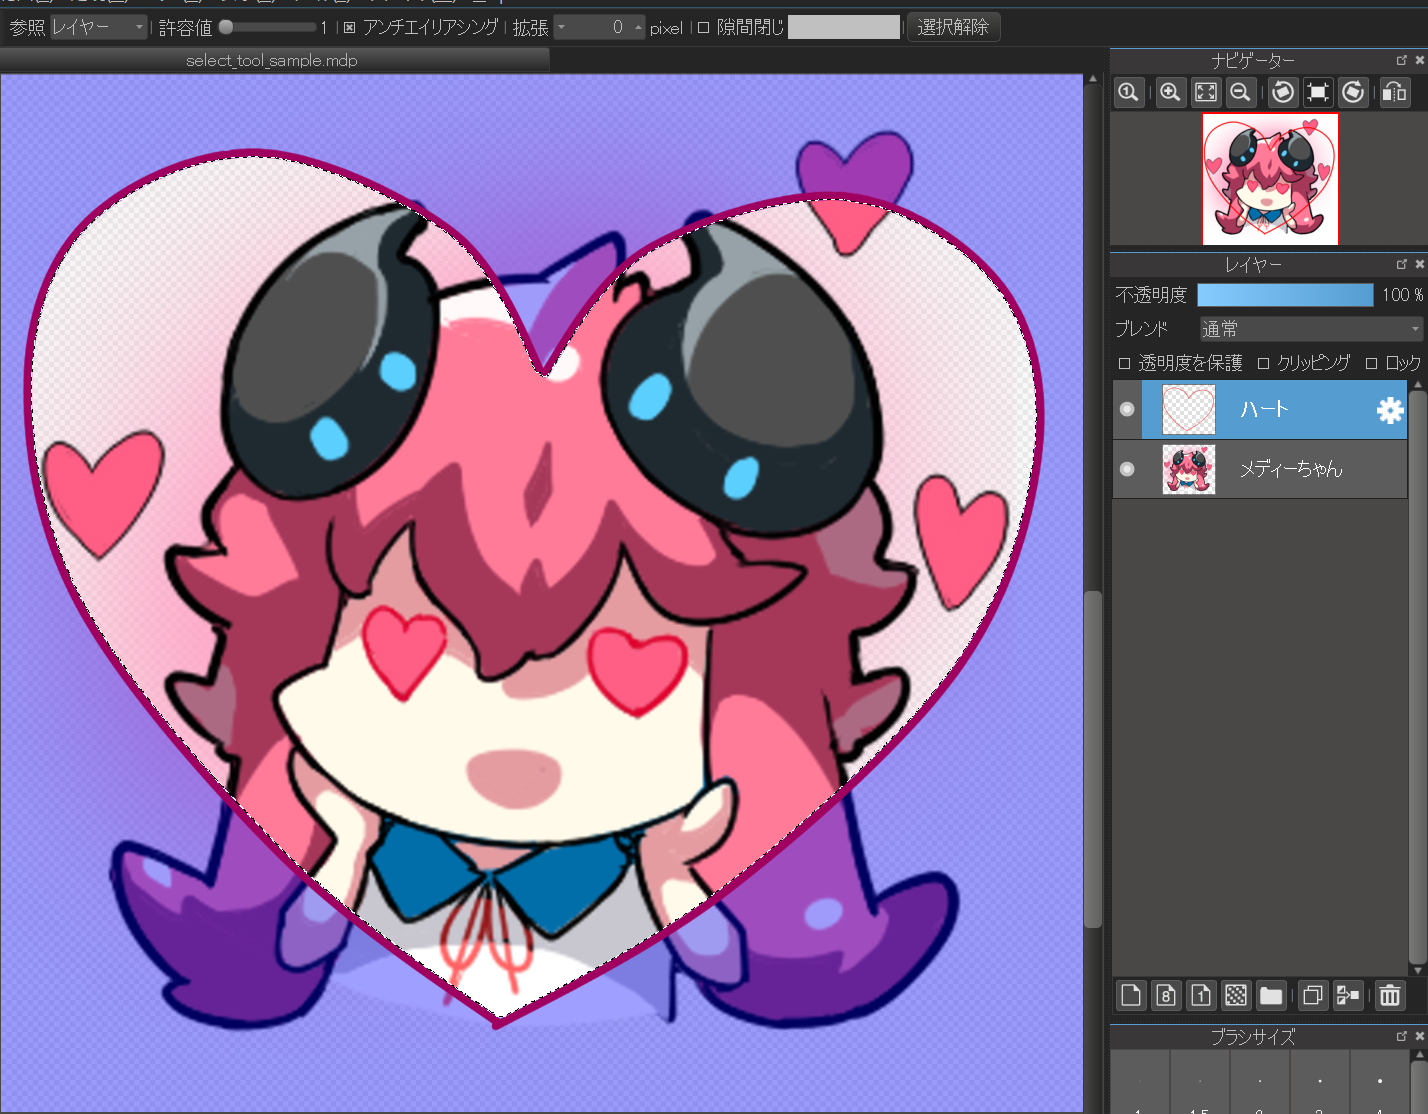
From hither, I volition clip the medi-chan to heart-shaped.
Select the "Heart" layer and permit's select inside the eye with "MagicWand Tool". Delight refer to "MagicWand tool" to "Layer".
When yous capsize the selection by "Select" → "Inverse" in the menu, the outside of the center is selected.
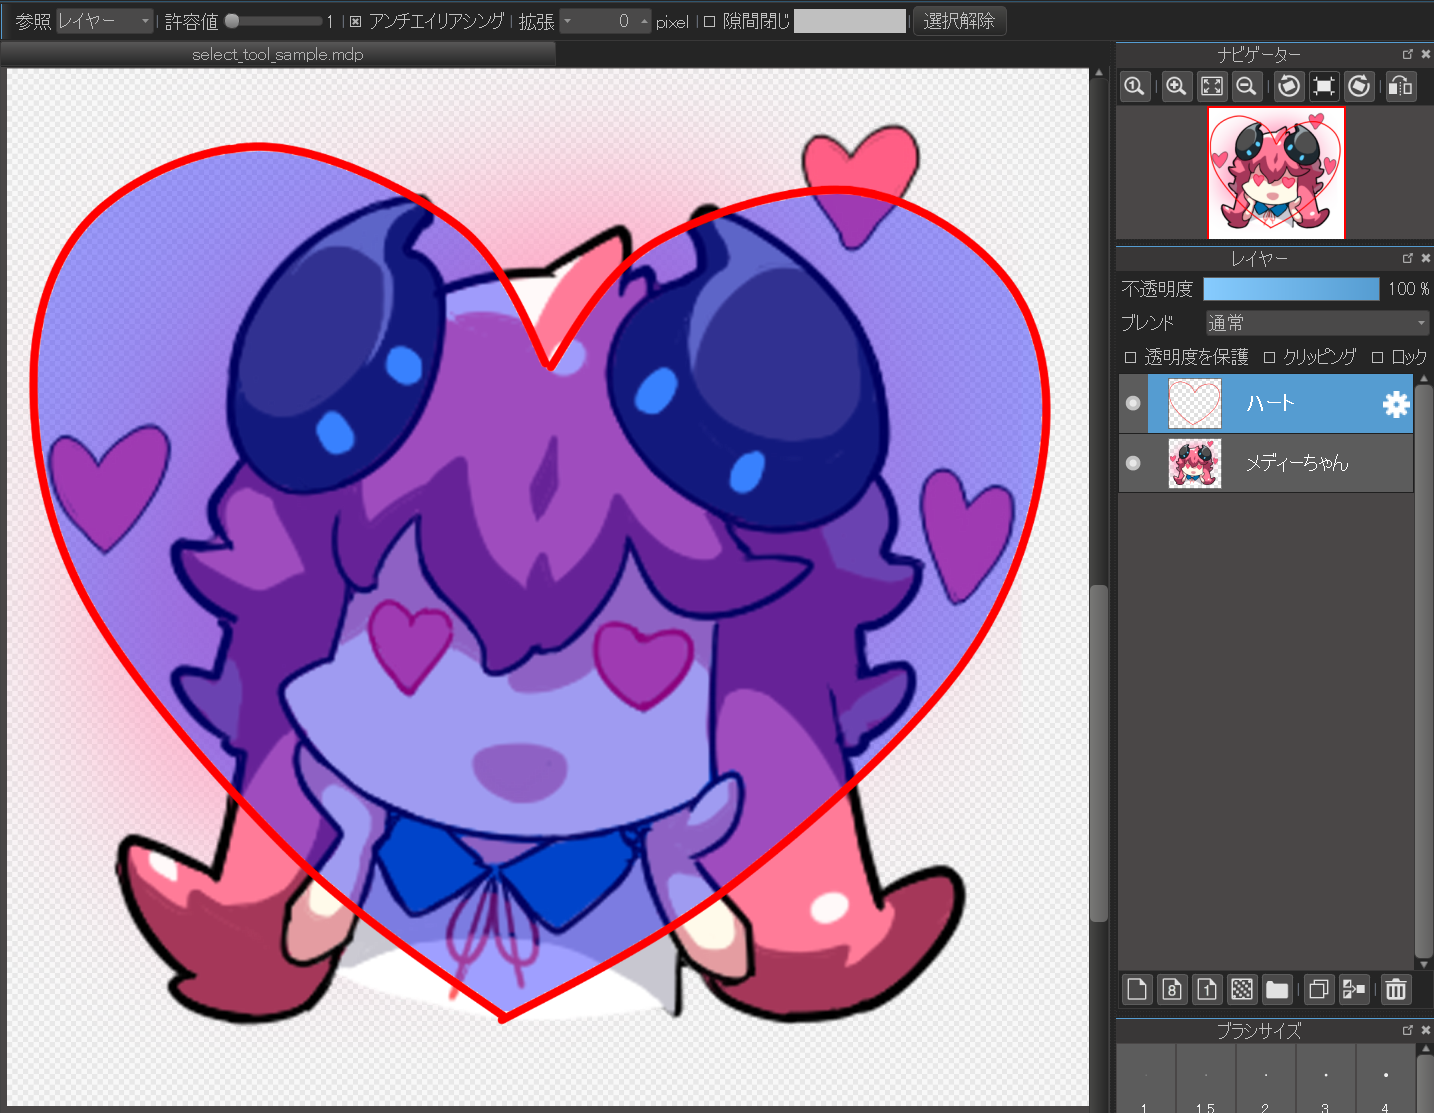
In this state, you can select "medi-chan" layer, and from card "layer" → "clear" you tin erase only the outside of the heart. (If you perform an performance such as clearing a layer while creating a pick range, information technology will be reflected only inside the selected range.)
Signal
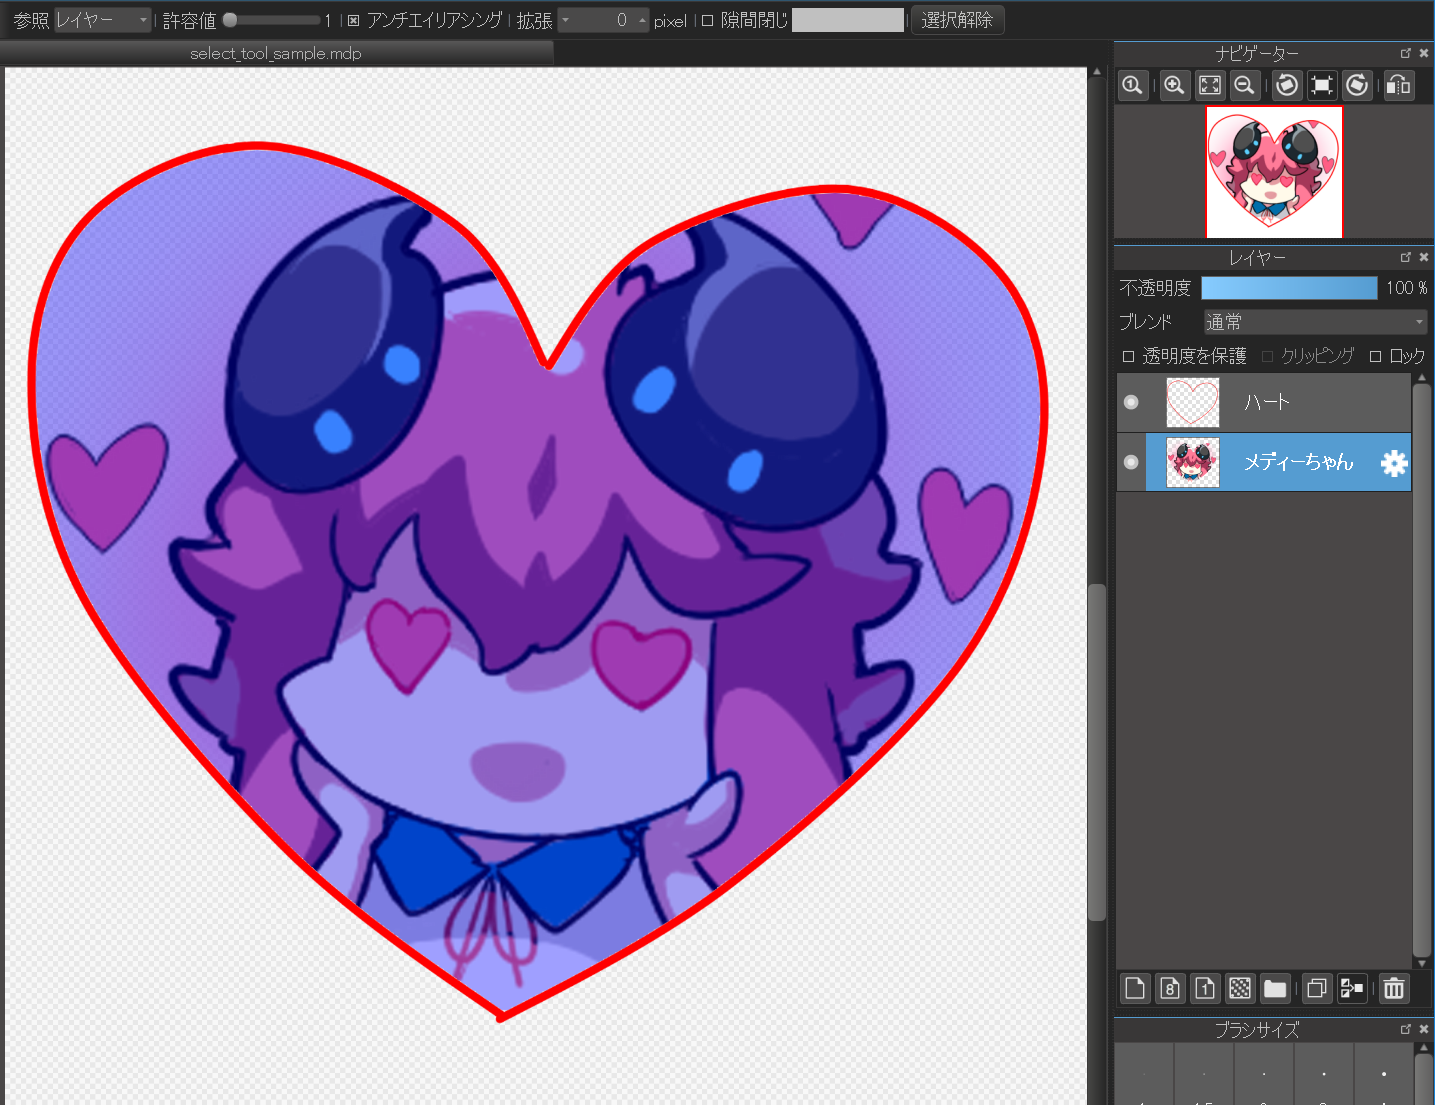
Even when you change the layer to exist selected, the choice range remains unchanged, so you tin can use the selection made using "MagicWand" on another layer.
Finally, if yous cancel the pick range and delete the "eye" layer, it is the finished "medi-chan" image clipped out in the shape of a middle.

- PC
- iPad
- iPhone
- Android
How to use

Source: https://medibangpaint.com/en/tutorial/pc/use-select-tool/
Posted by: milsapmustrien.blogspot.com
0 Response to "Which Selection Tool Lets You Draw Straight-line Segments Of A Selection Border?"
Post a Comment